Today I'll be teaching you how to create reflections in Photoshop. Reflections are a great visual effect to really make your design shine. They're also nearly as easy as adding text.
1. Start off with a background of your choice. The document I'll be using is 500*225 and a quick background I made. Add some text on top of the background.

2.Duplicate this layer by either right clicking on the layer or clicking the layer and hitting ctrl+J
3.Rastersize this layer by right clicking on it and selecting rastersize layer.
*Tip and easy way to rastersize graphic layers (such as icons) is to create a new blank layer below it. Then click the graphics layer and hit ctrl+e to merge.
4.Flip this layer vertically. You can do this by going to the edit menu at the top, then go to transform then flip vertically.
You should now have this-

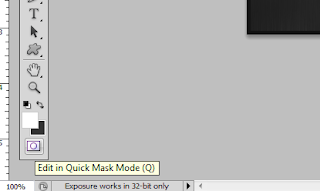
5.Now for the magic. On the now flipped layer click the quick mask button(see picture below), then click on the gradient button.
6. draw a gradient from the top of the flipped text to the bottom. See the picture below for an example. After this click the quick mask button again to finish.
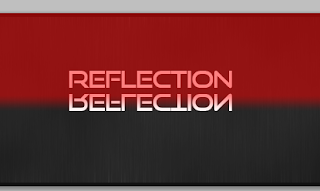
7.You'll now see a selection box, hit delete or backspace a couple of times. Now lower the opacity or fill to your liking, I used 20%. Congratulations your now done and should have a similar picture to the one below.



Awesome!
ReplyDelete